Problem
I get lots of packages delivered to my 1800s-built apartment, and I’m not always home to buzz them in. I’ve had dozens of packages either gone missing, stolen, or deemed undeliverable. Not a great situation for the package carrier, the retailer, or me.
Furthermore, anyone on the street can button-mash the call box at any time of day or night, causing a piercing beep throughout the apartment. It’s been the source of a rude awakening on more than one occasion.
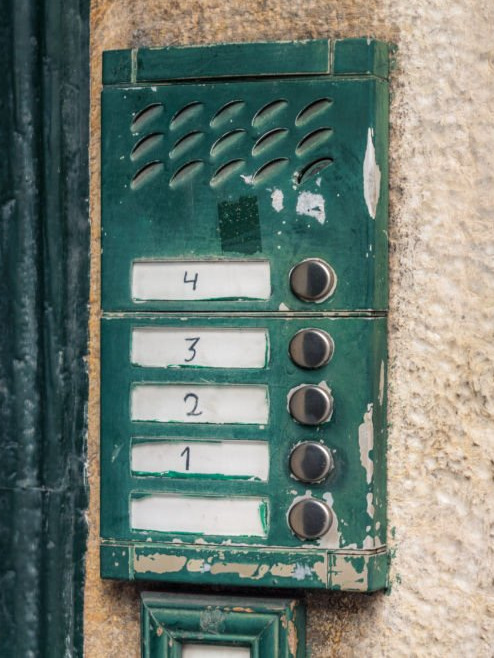
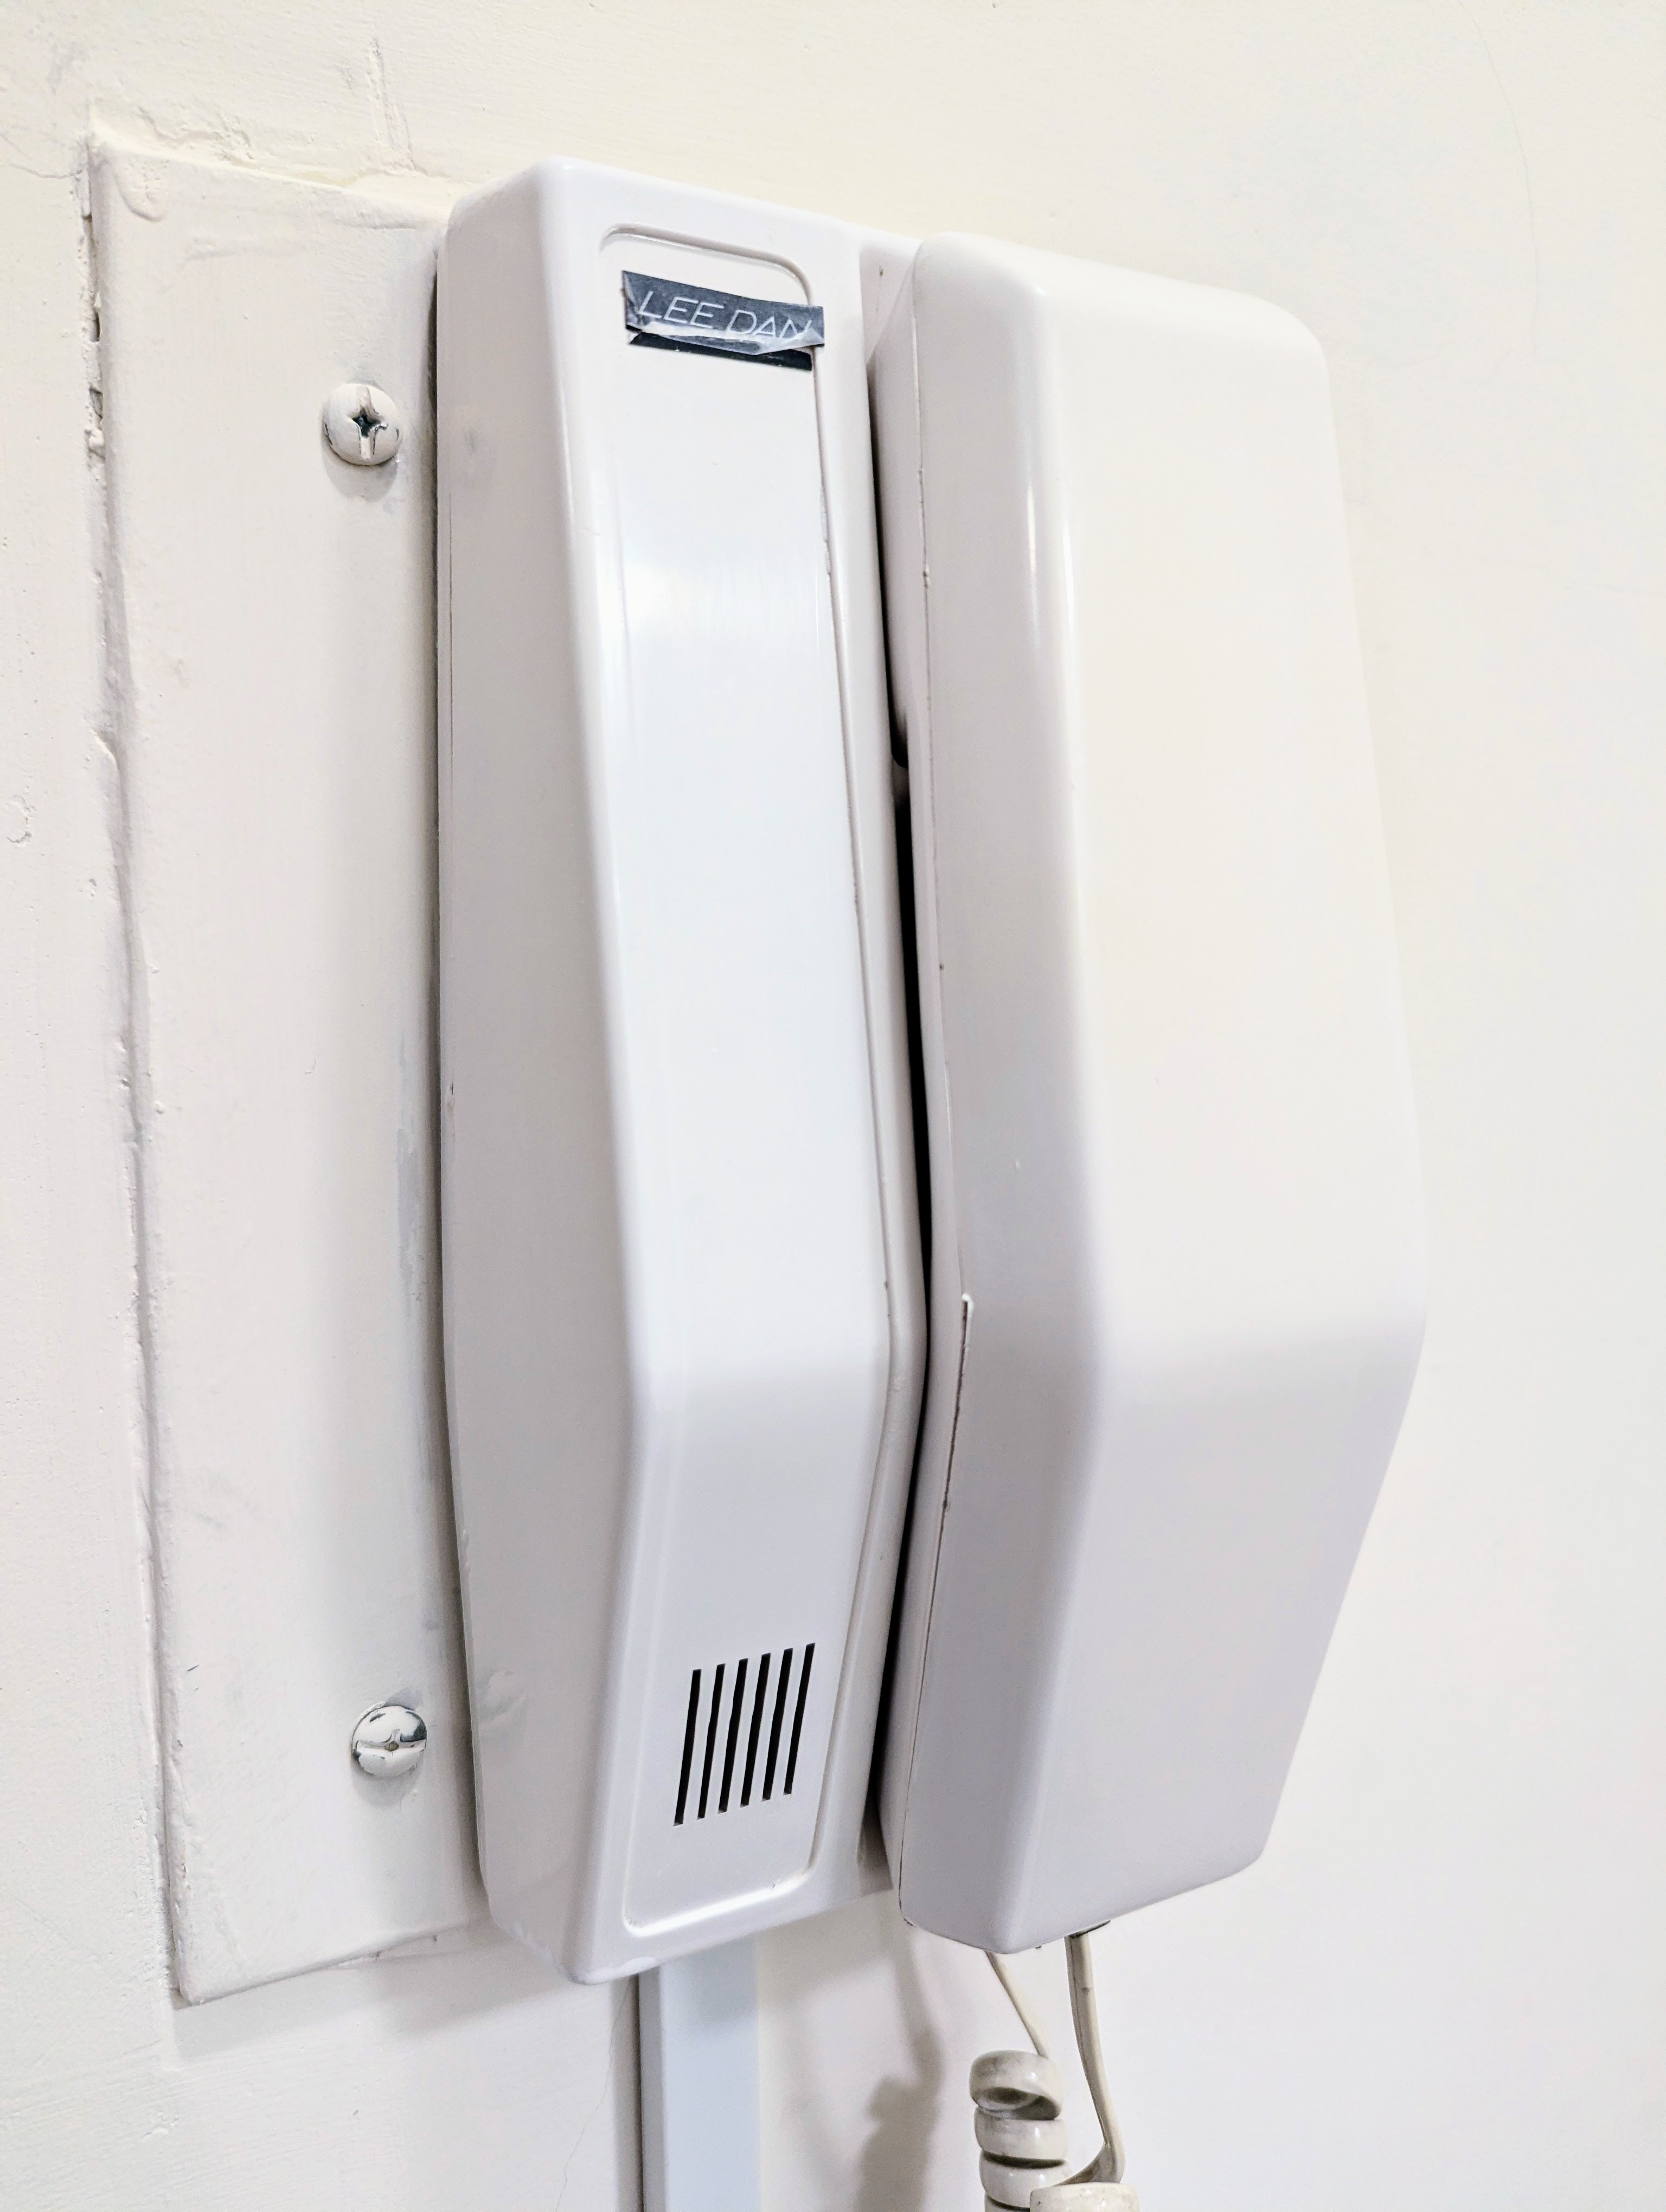
The root of these frustrations is a garden-variety analog call box / intercom system, which requires pressing an in-unit button to unlock the building door. I can’t replace the building’s access control with one of those fancy touchscreen systems they’ve got on “luxury” buildings, but I figured I could at least smarten up the in-unit intercom.
Research
A blog post by fellow New Yorker Chris Whong started me down the path of understanding call box wiring and how I might automate the basic intercom functions of detecting a buzz and unlocking the building door.
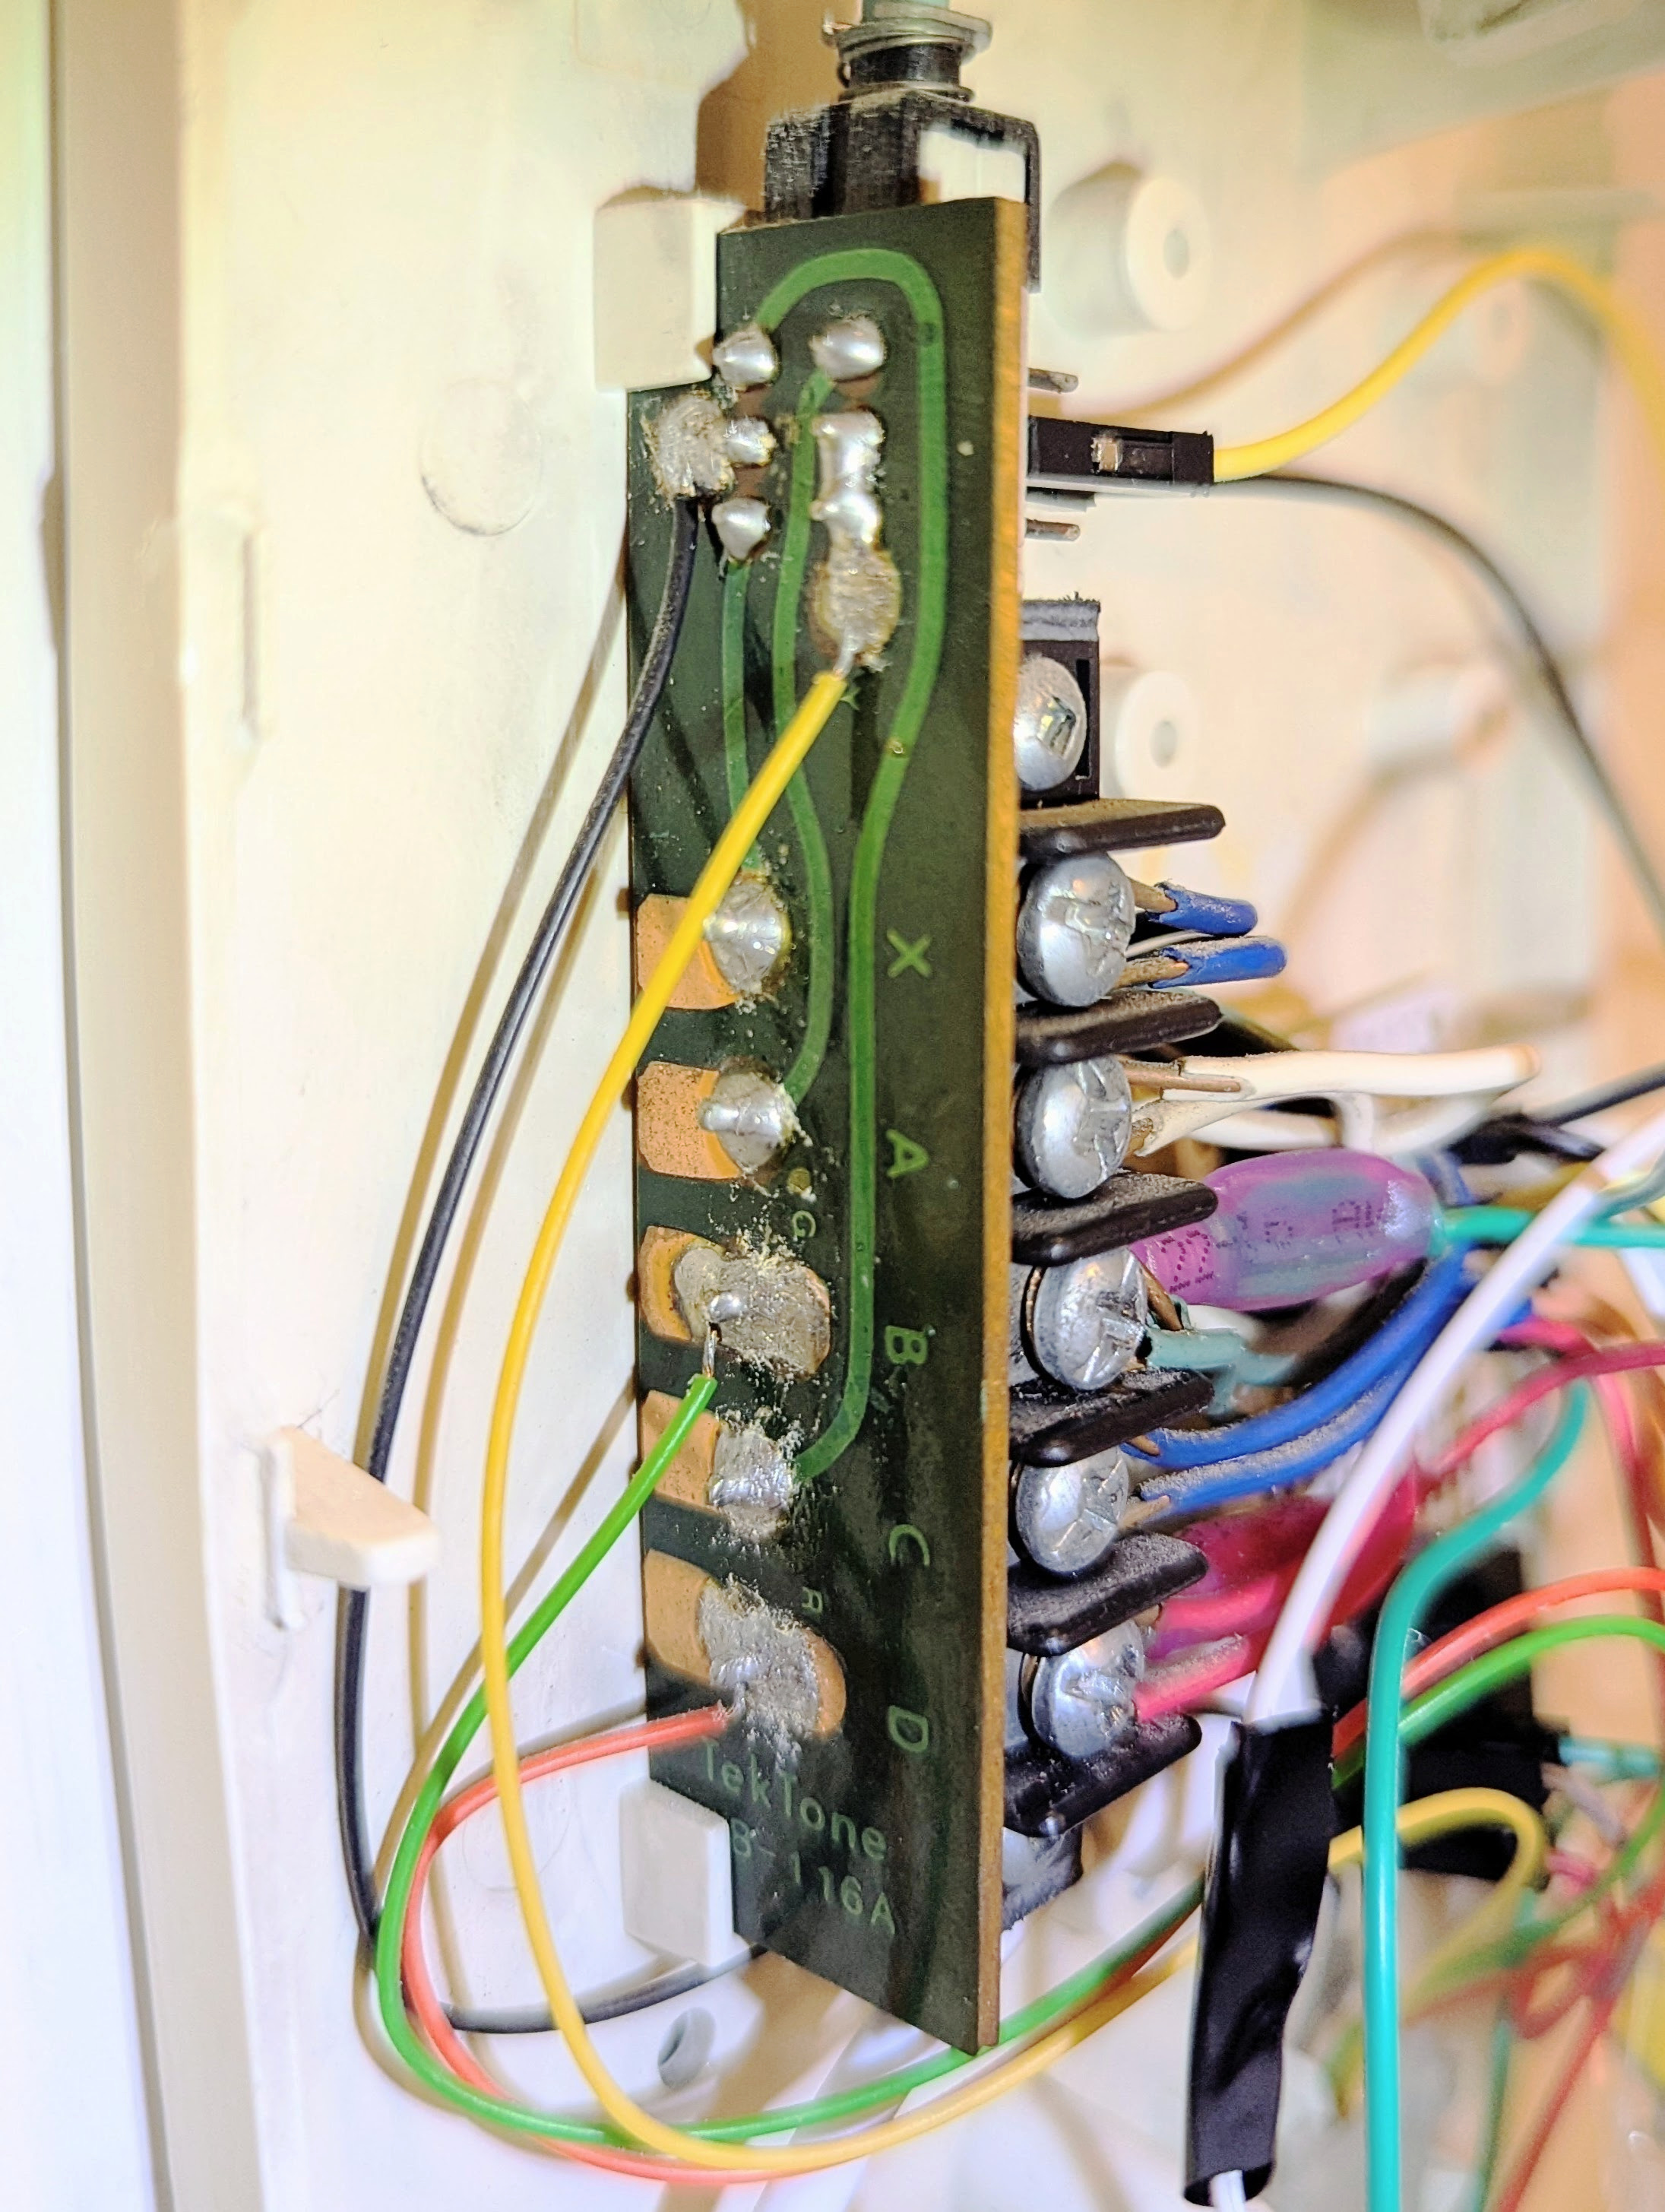
Unfortunately, I appeared to be working with a 5-wire system rather than the simpler 3- or 4-wire variants I’d seen online. My intercom board was also labeled differently than any I’d found (X, A, B, C, D), and triggering the door unlock didn’t appear to be quite as straightforward as bridging two pins.
After some fruitless multimeter probing, I had the idea to ignore the board inside the intercom and just focus on the handset outside it. The handset emits a buzz tone when someone presses the call box, and it contains the button which when held down, engages the electric strike on the building door to unlock it. Therefore, my thinking went, I just needed to understand and mimic what’s happening inside the handset.
A delicate, non-security-deposit-violating prying open of the handset later, I saw I was working with the four wires of an RJ11/RJ22 connector: yellow, green, red, and black. Each wire’s purpose isn’t standardized for an application like this, but the internal wiring of the handset told me what I needed to know.
Yellow and green wires are connected to carry the audio signal through the receiver (“earpiece”). Black and red wires are connected to carry the transmitter signal (“microphone”). Pressing the “unlock door” button in the center of the handset connects all four wires together.
Now, I had the basis for a solution.
Hardware
I needed to connect two sets of wires together via relays while also monitoring for the voltage signal of the buzz. A commenter on Chris’s article turned me on to the Shelly Plus Uni as a device which should fit the bill.
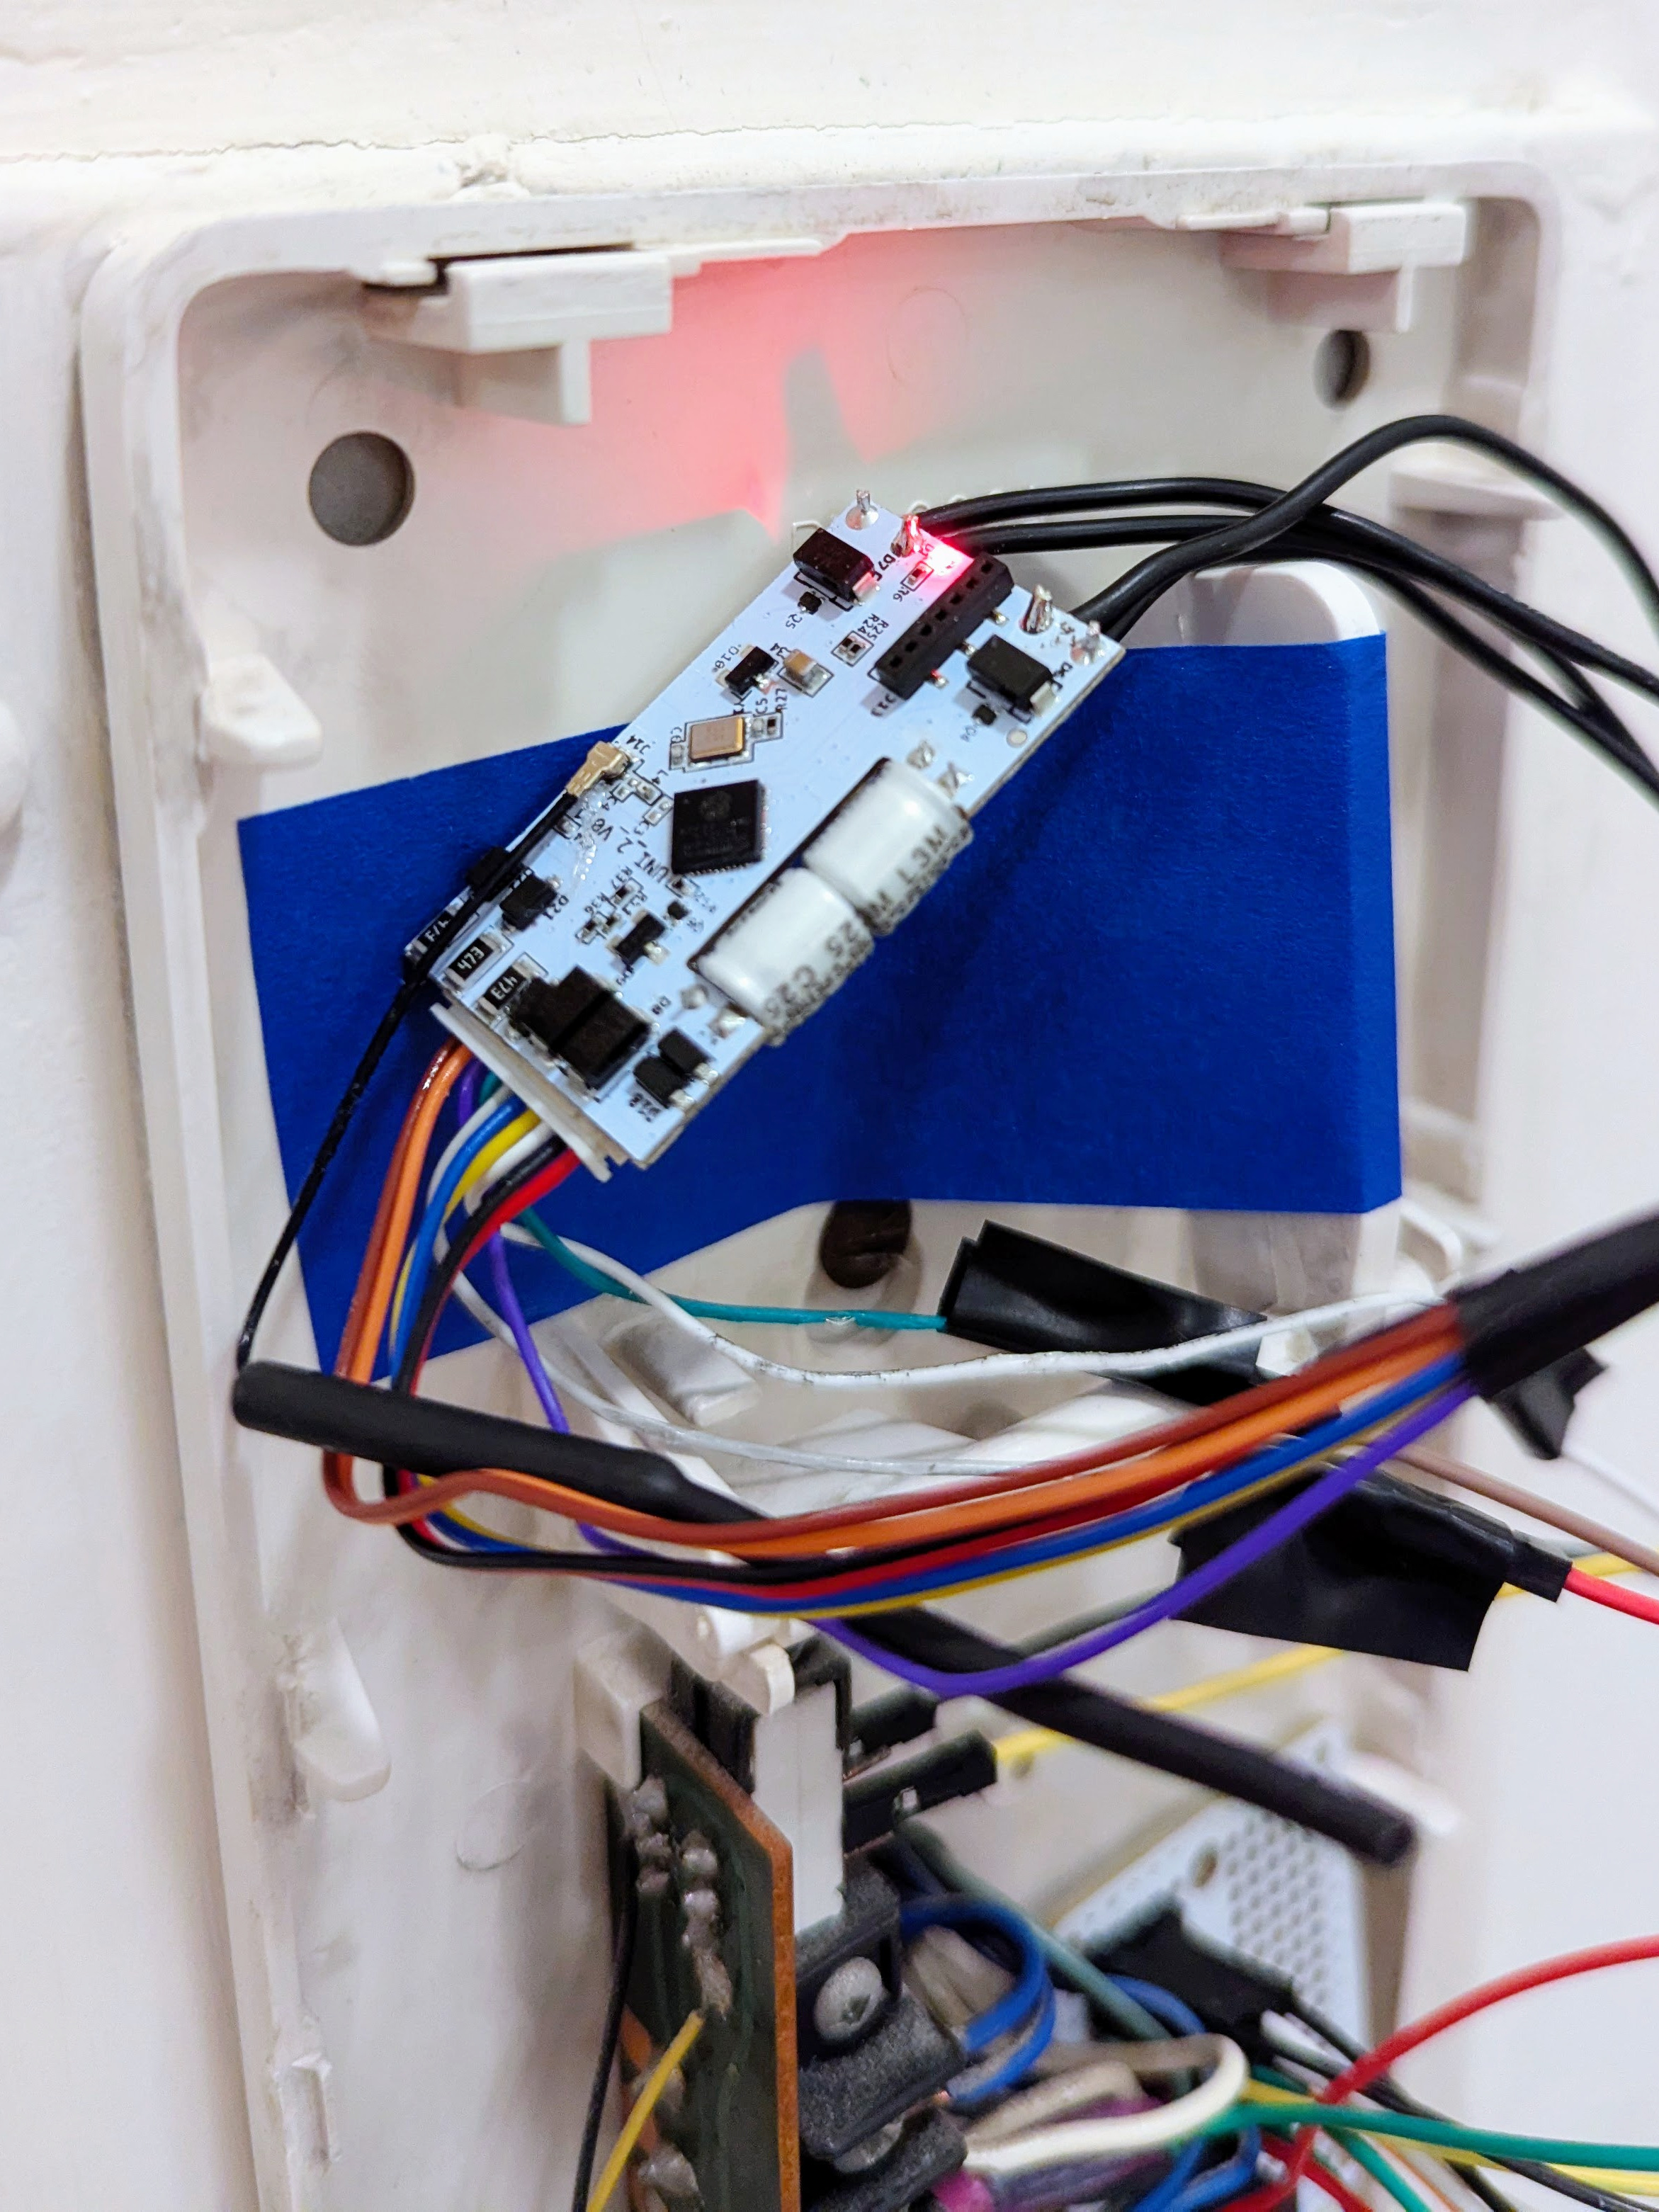
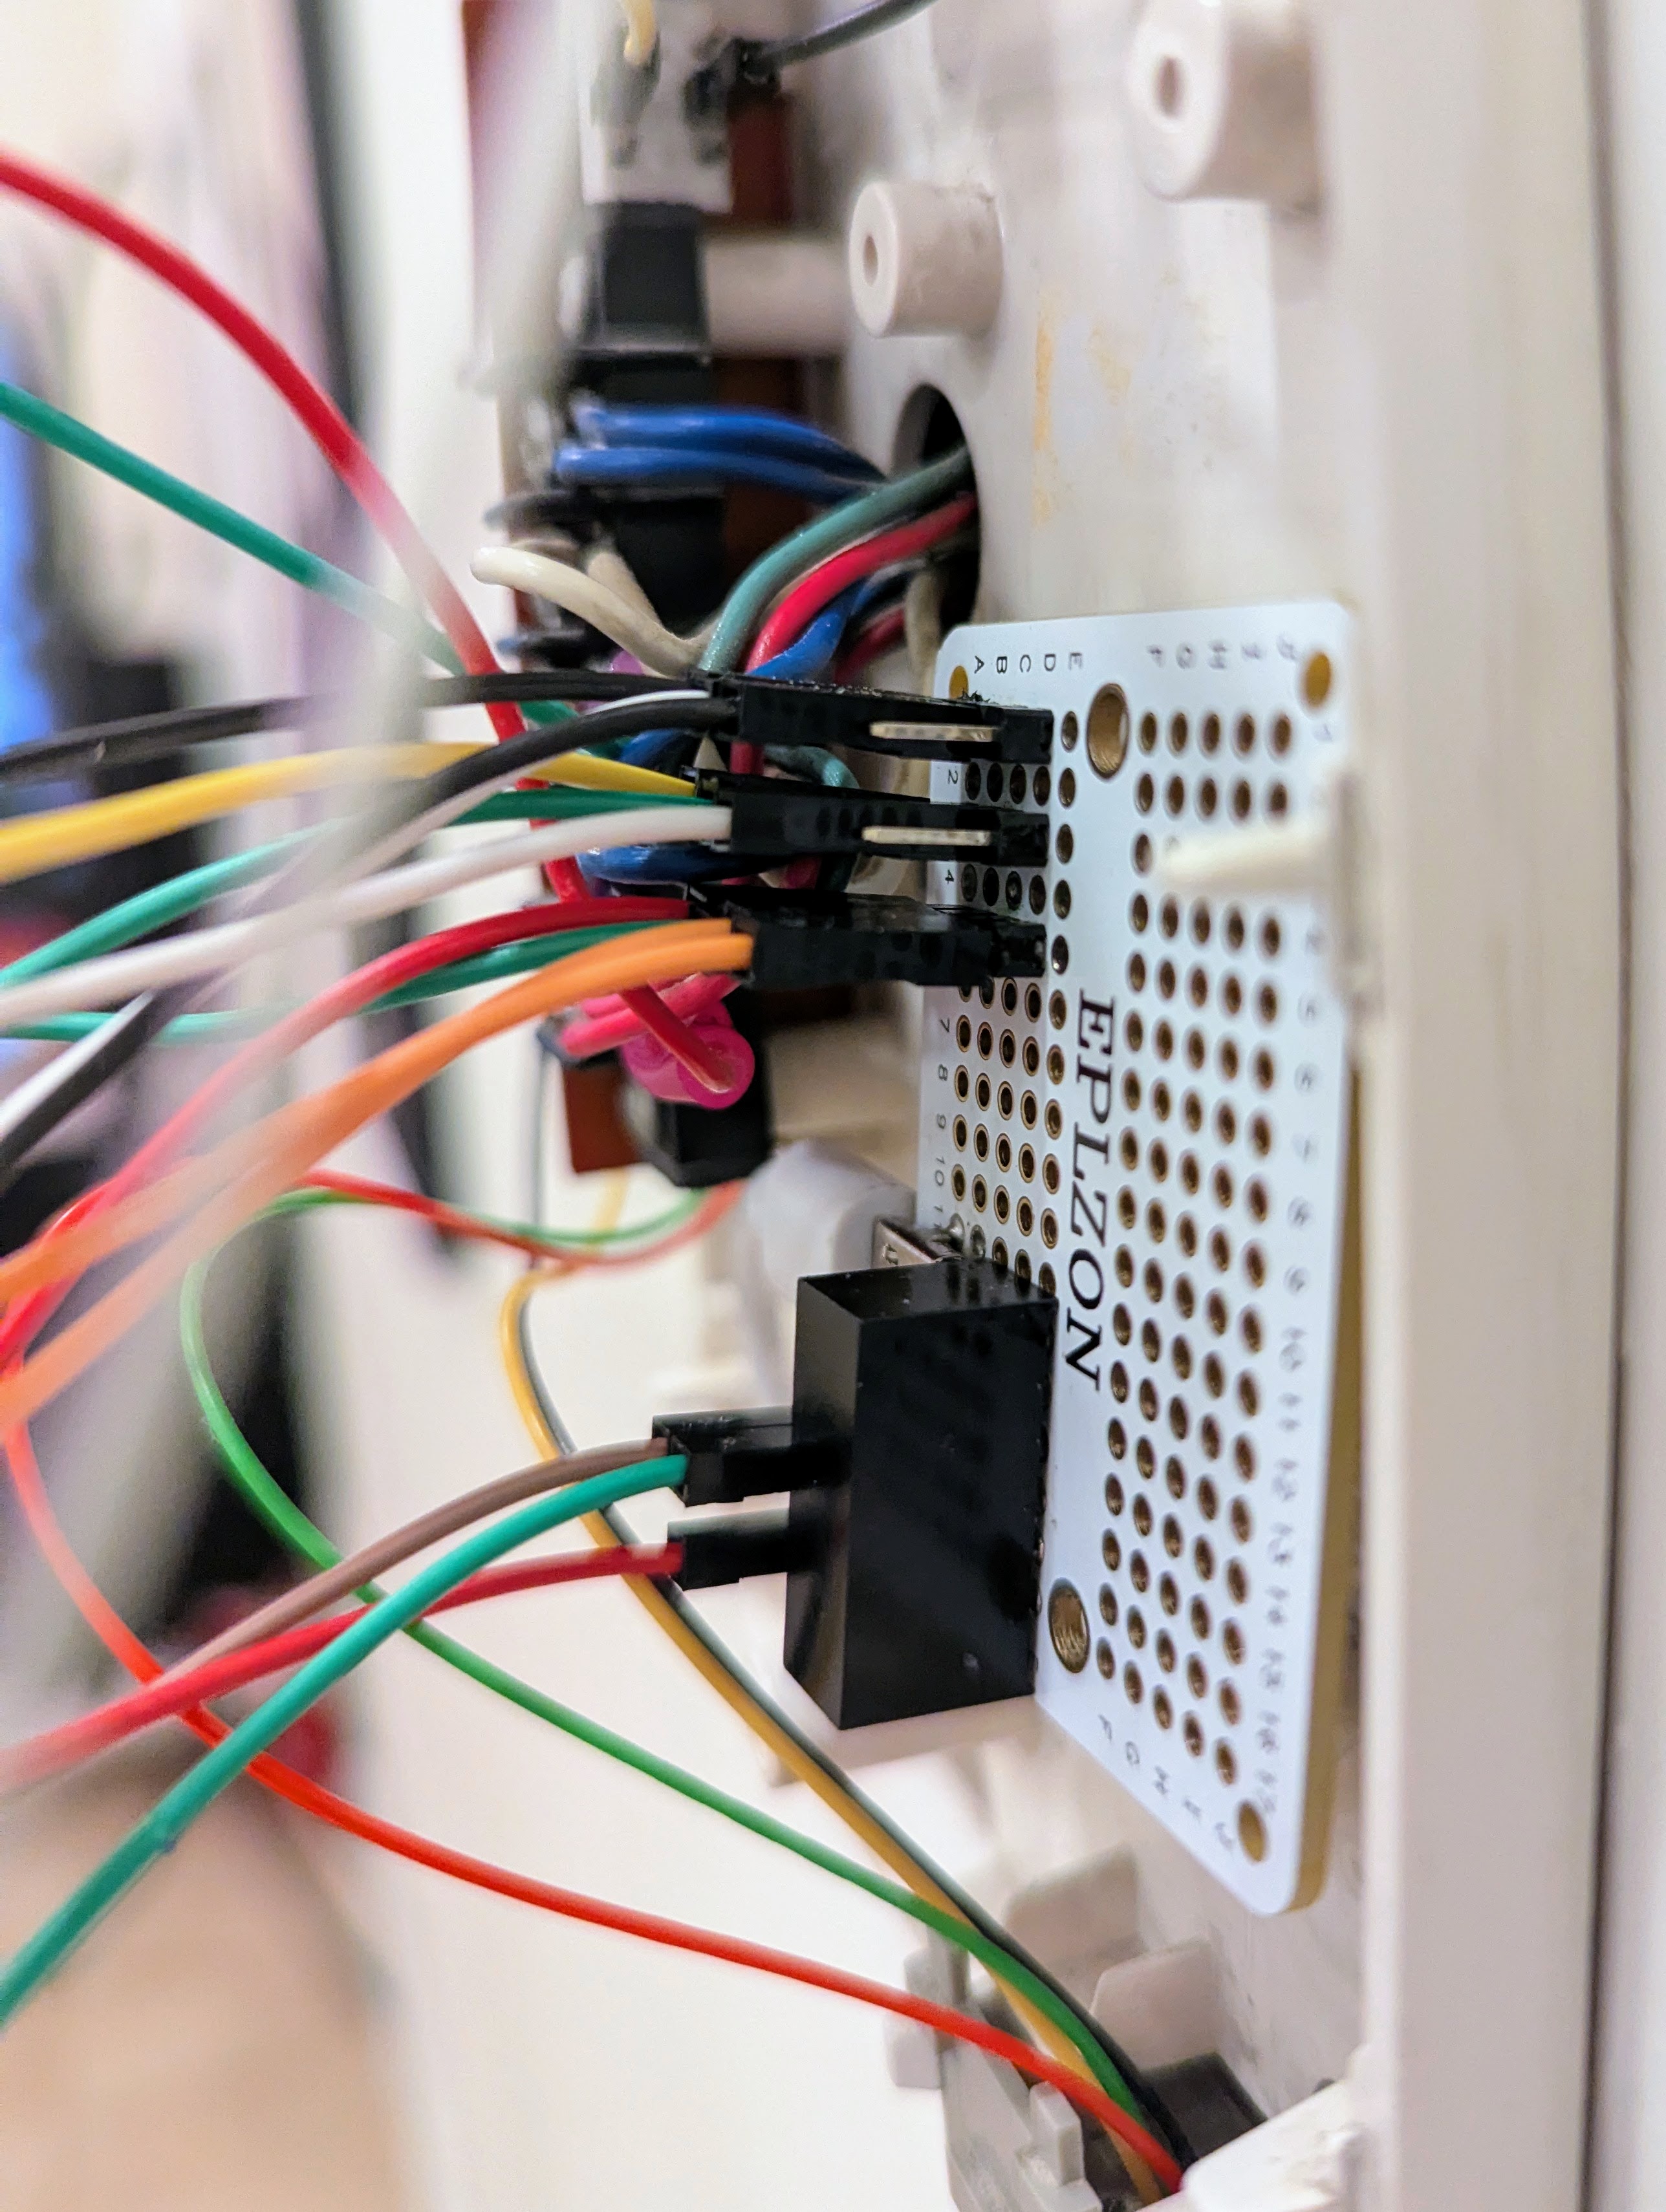
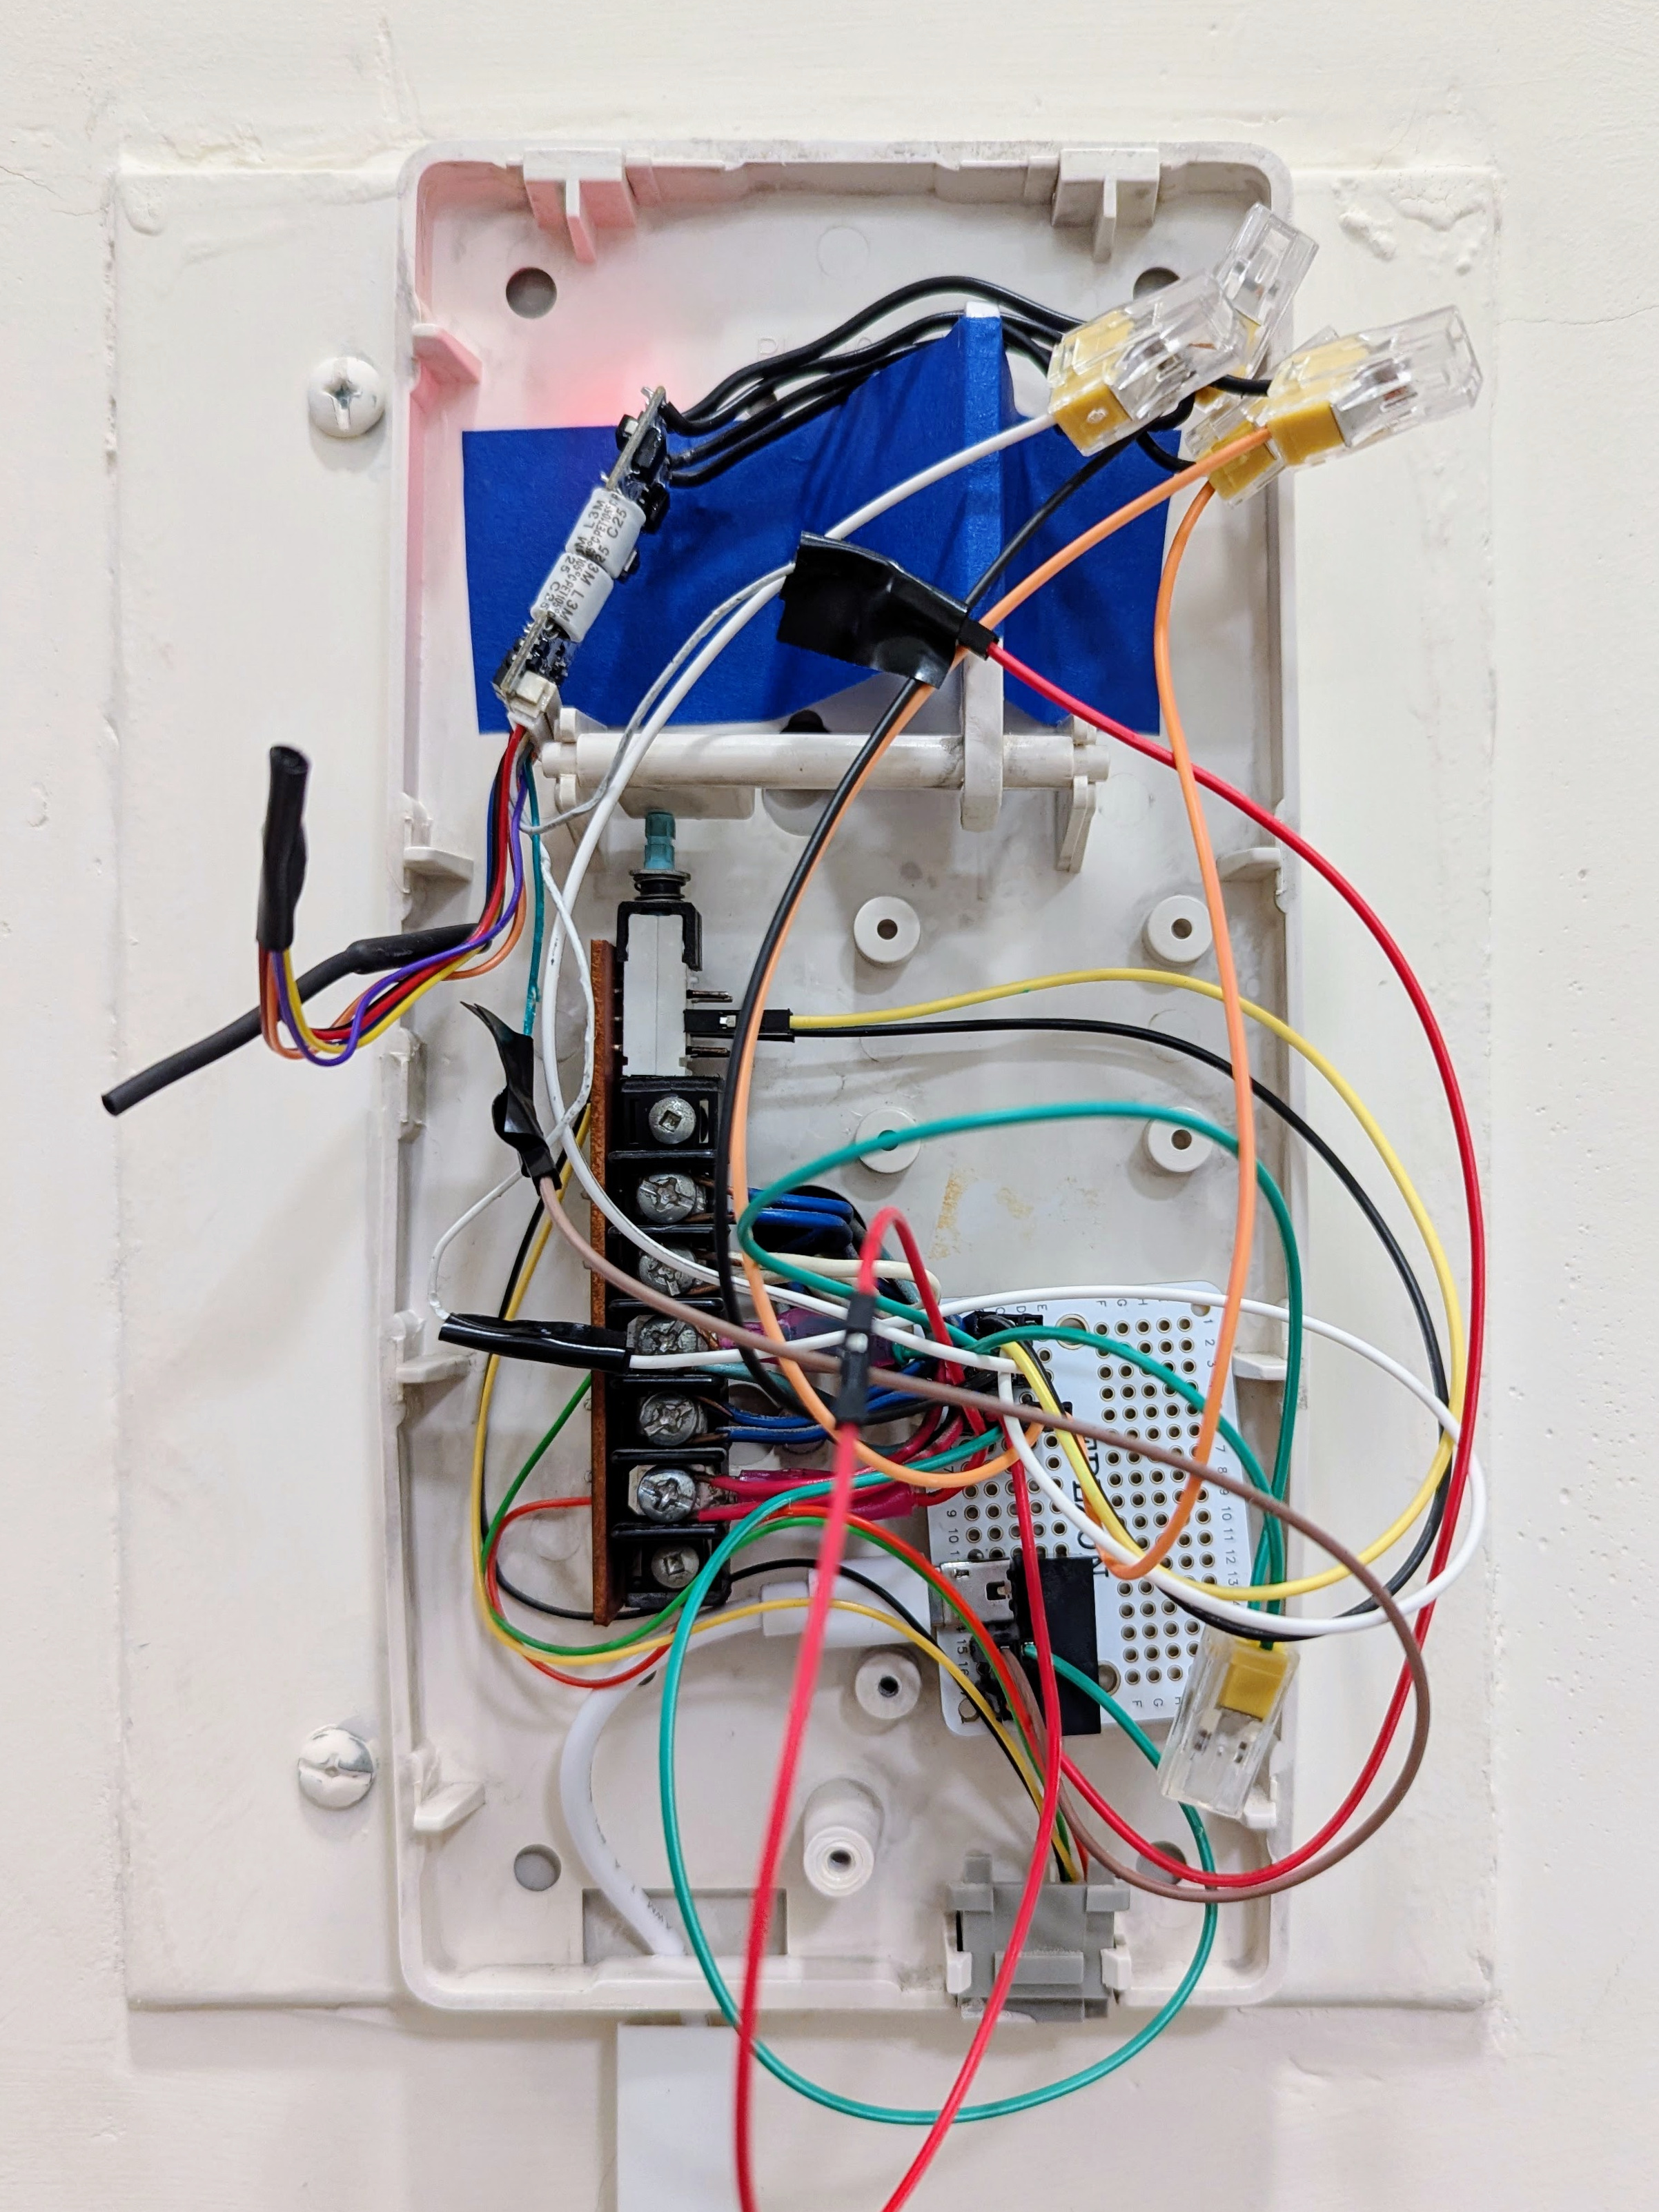
The board arrived, and I got to wiring everything up: first with alligator clips and jumper wires, then soldering a PCB that could act as a bridge between the intercom wiring and the Shelly.
Issues & fixes
I’d like to say that everything worked flawlessly from the get-go, but of course that’s never the case.
Buzz detection
Through trial and error, I discovered that the buzzer tone actually comes through the bottom of the handset (the “microphone”) rather than through the top speaker. It also took me embarrassingly long to realize that the rocker of the handset needs to be pressed (as if the phone were hung up) for the beep to come through.
Chris’s article discusses detecting the pulsed DC signal of the buzz, but I found that pressing the button downstairs raises a reliable 9 VDC between red and black wires. The Shelly has a pulse counter which I likely could have employed here, but I stuck with its analog input for simplicity.
Power source
I was optimistic about powering the Shelly board from the intercom box, but unfortunately that didn’t pan out. The power available there would interrupt itself when connecting the four wires to give the “unlock” signal, and aside from those wires I couldn’t pull the right volts/amps the Shelly requires. YMMV.
I started off using a hefty 20,000mAh battery bank but soon realized I’d need to recharge it every few days. The Shelly’s not that power hungry, but it uses Wi-Fi for communication which can only be so efficient. However, it turns out that moving from a battery power source to a DC wall adapter caused another fun problem….
Ground reference
Switching the Shelly to a DC wall adapter broke its analog input detection of the buzz voltage. Upon a bit of AI-assisted debugging, I learned that this was caused by a ground reference problem. To solve it, I ended up integrating a DC-DC isolated power converter to separate the PCB’s ground reference from mains ground.
Fail-safe
To simulate an “unlock door” button press with sufficient time for someone to get in, I needed to leave the relays closed for several seconds then reopen them. I had a concern that the relay close command could succeed, but a followup relay open command could fail. The building door would effectively be stuck unlocked.
Fortunately, Shelly seems to have thought about this. Their API provides a single call that both flips a relay and instructs it to revert to its previous state after a number of seconds. I put this into a Shelly script.
I additionally set up a Home Assistant automation that monitors the relays’ state. If they’ve been closed for more than 15 seconds, it repeatedly attempts to open them and sets off alarm bells for me to investigate.
Finished product

Software & UX
So how does this all come together? Home Assistant is the brains of the operation, which integrates with Shelly devices.
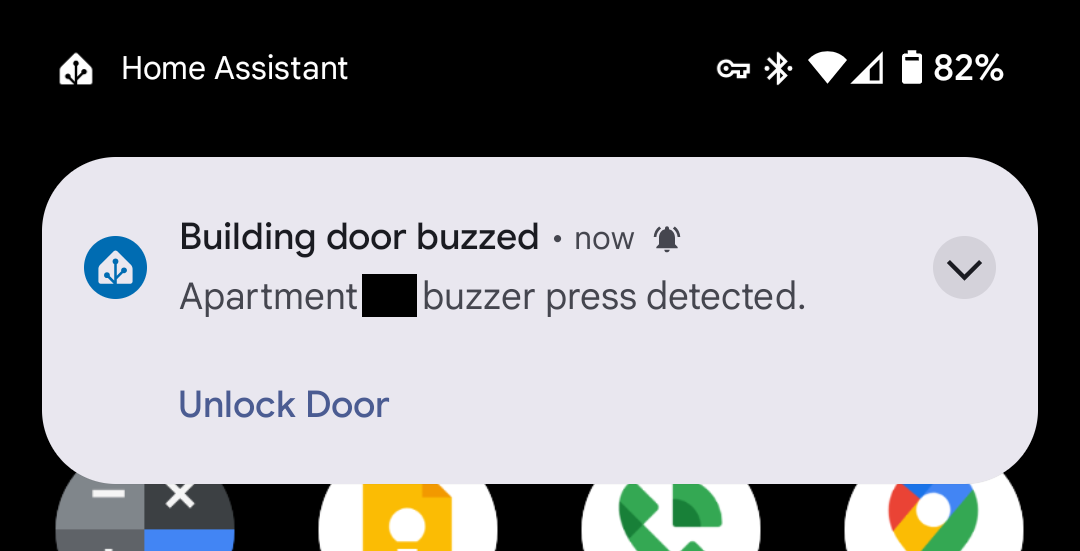
HA detects when the buzzer voltage jumps above a threshold, indicating a call box press. As long as my phone isn’t in “Sleeping” or “Do Not Disturb” modes, it broadcasts an announcement over my smart speakers. If I’m home, I can just respond verbally (e.g., “Alexa, open the door”).
If I’m away, I can tap a push notification sent to my phone to unlock the door. I also have my HA dashboard configured to show a door unlock button if the call box was buzzed within the last minute.
As a bonus, this setup presented me with an opportunity for keyless entry into the building. I inconspicuously placed an NFC tag near the entryway which I can scan to unlock the door. These cost less than 50¢ each and are nonfunctional to anyone who doesn’t have my phone, so I don’t mind leaving one out there. It’s a minor but satisfying convenience.
My smartened apartment intercom means that I no longer have to worry about being home to buzz in a delivery or being jolted awake at odd hours by nocturnal button-pressing enthusiasts!
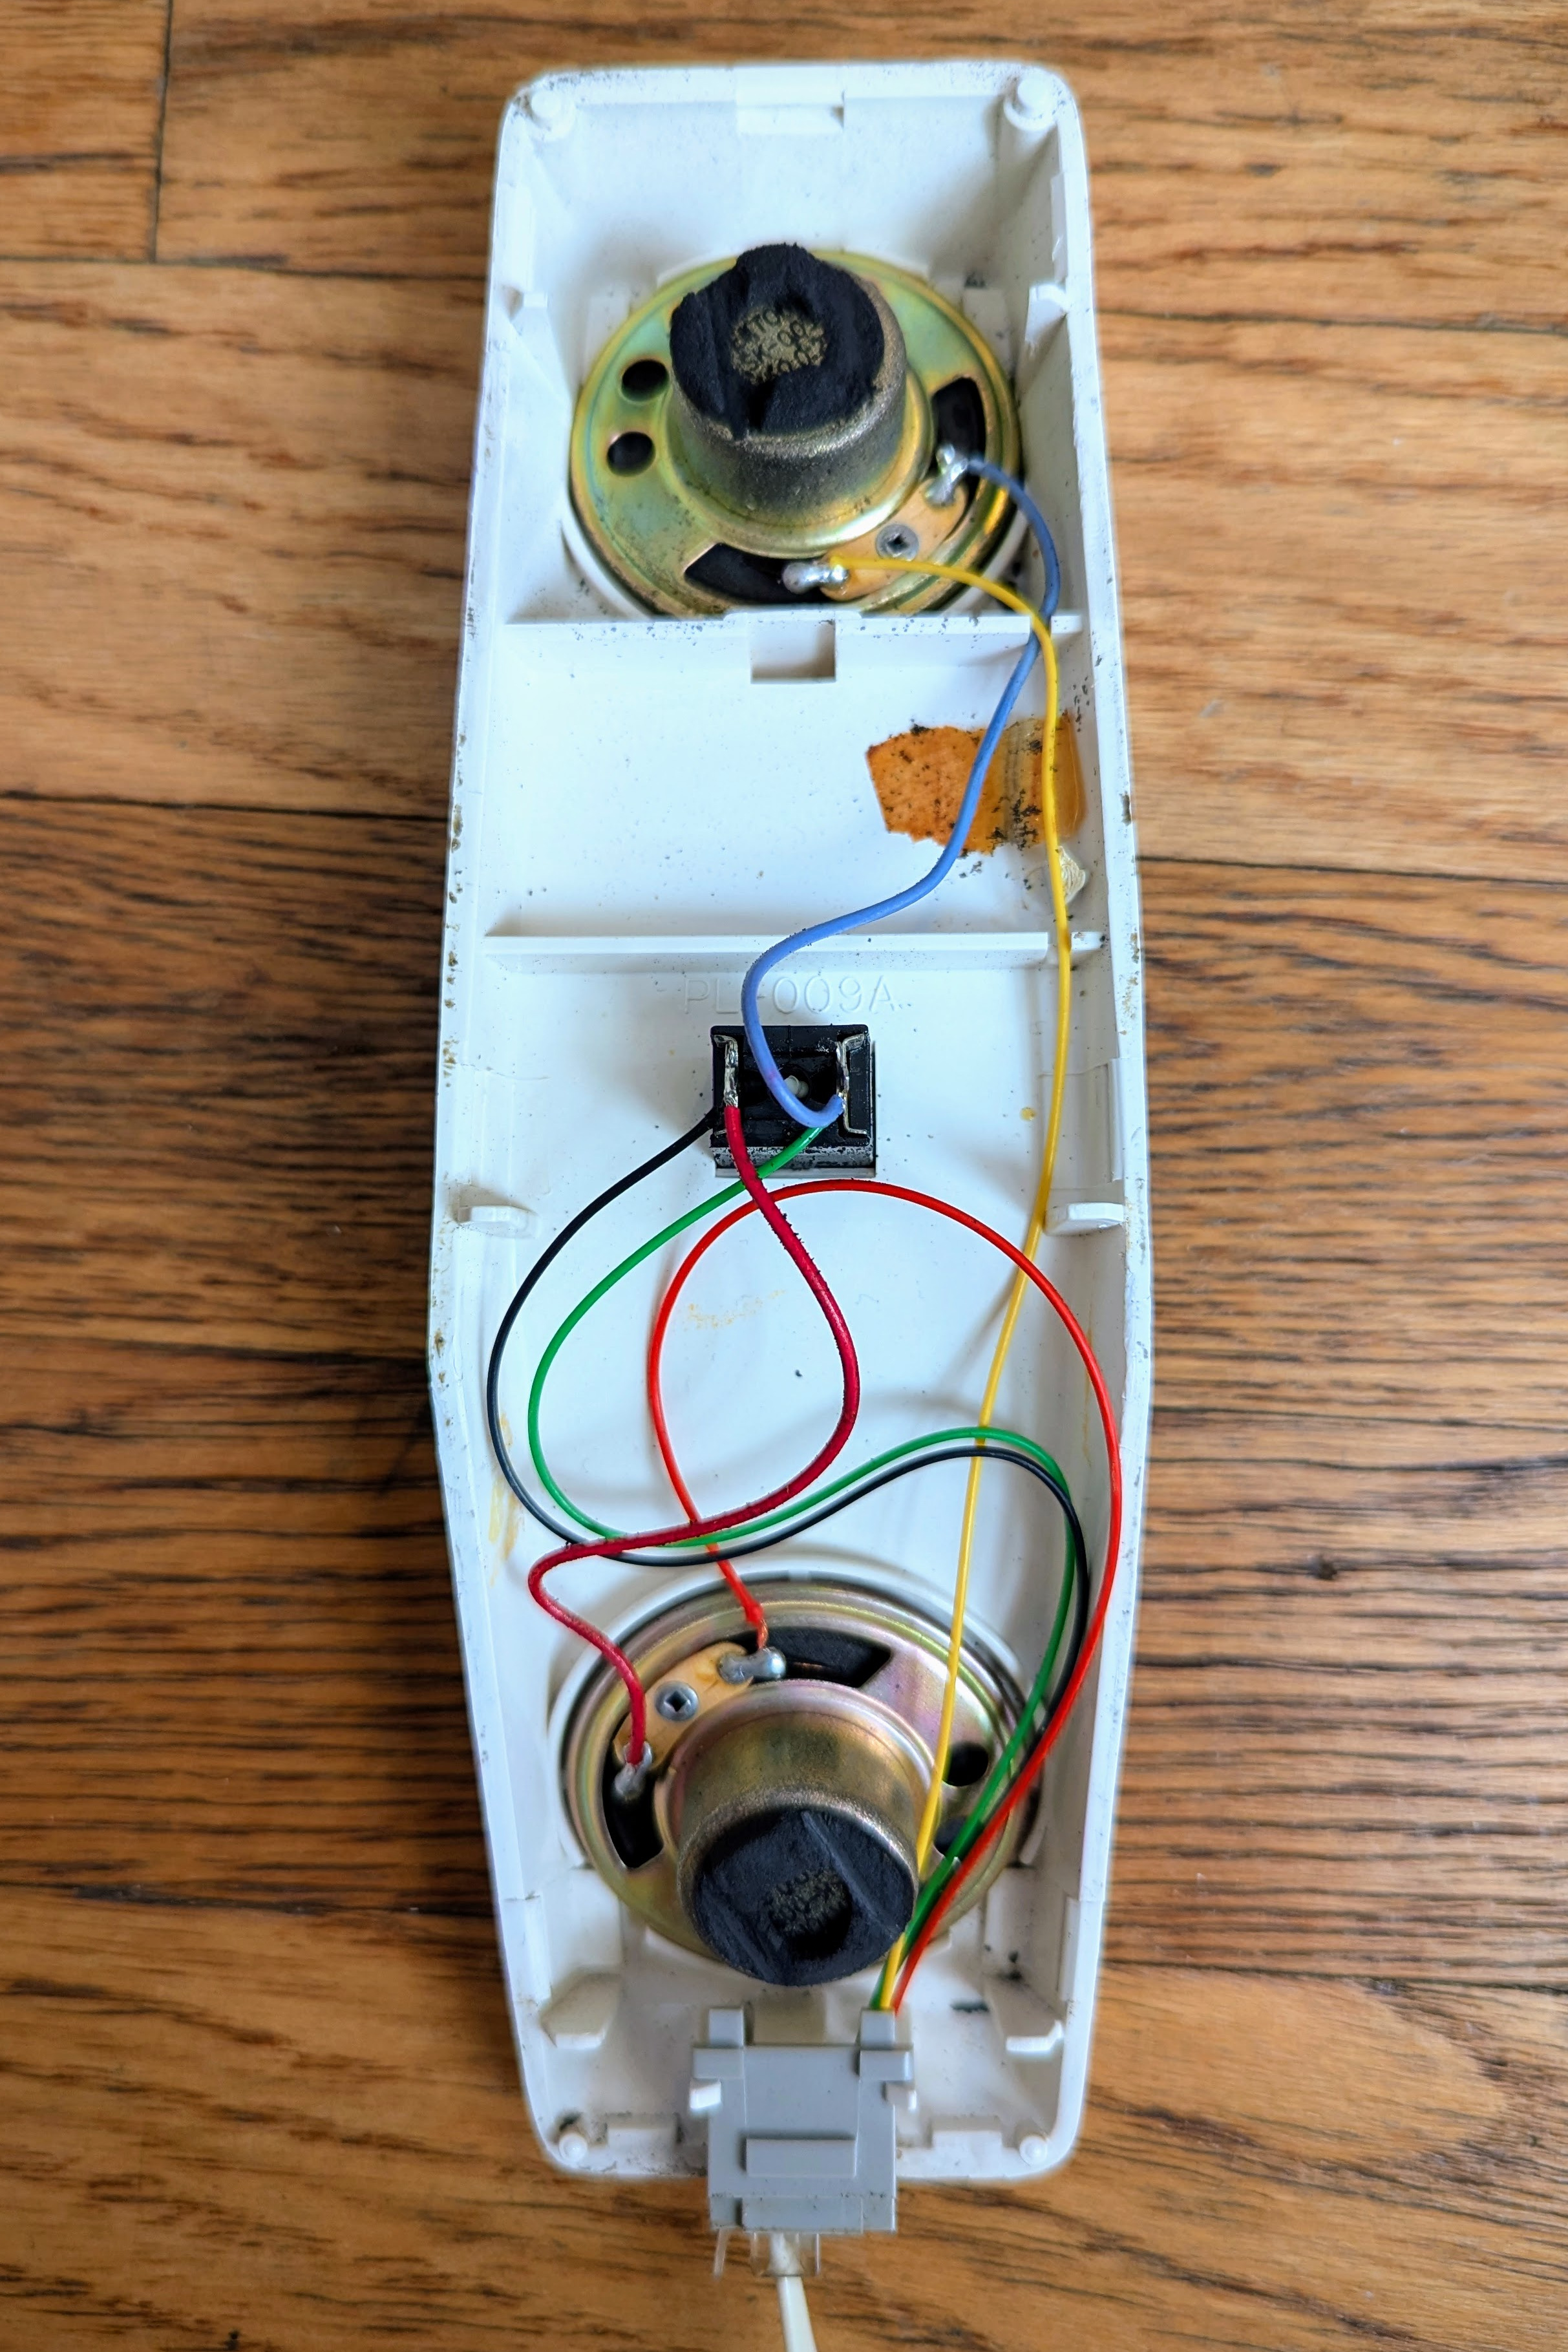
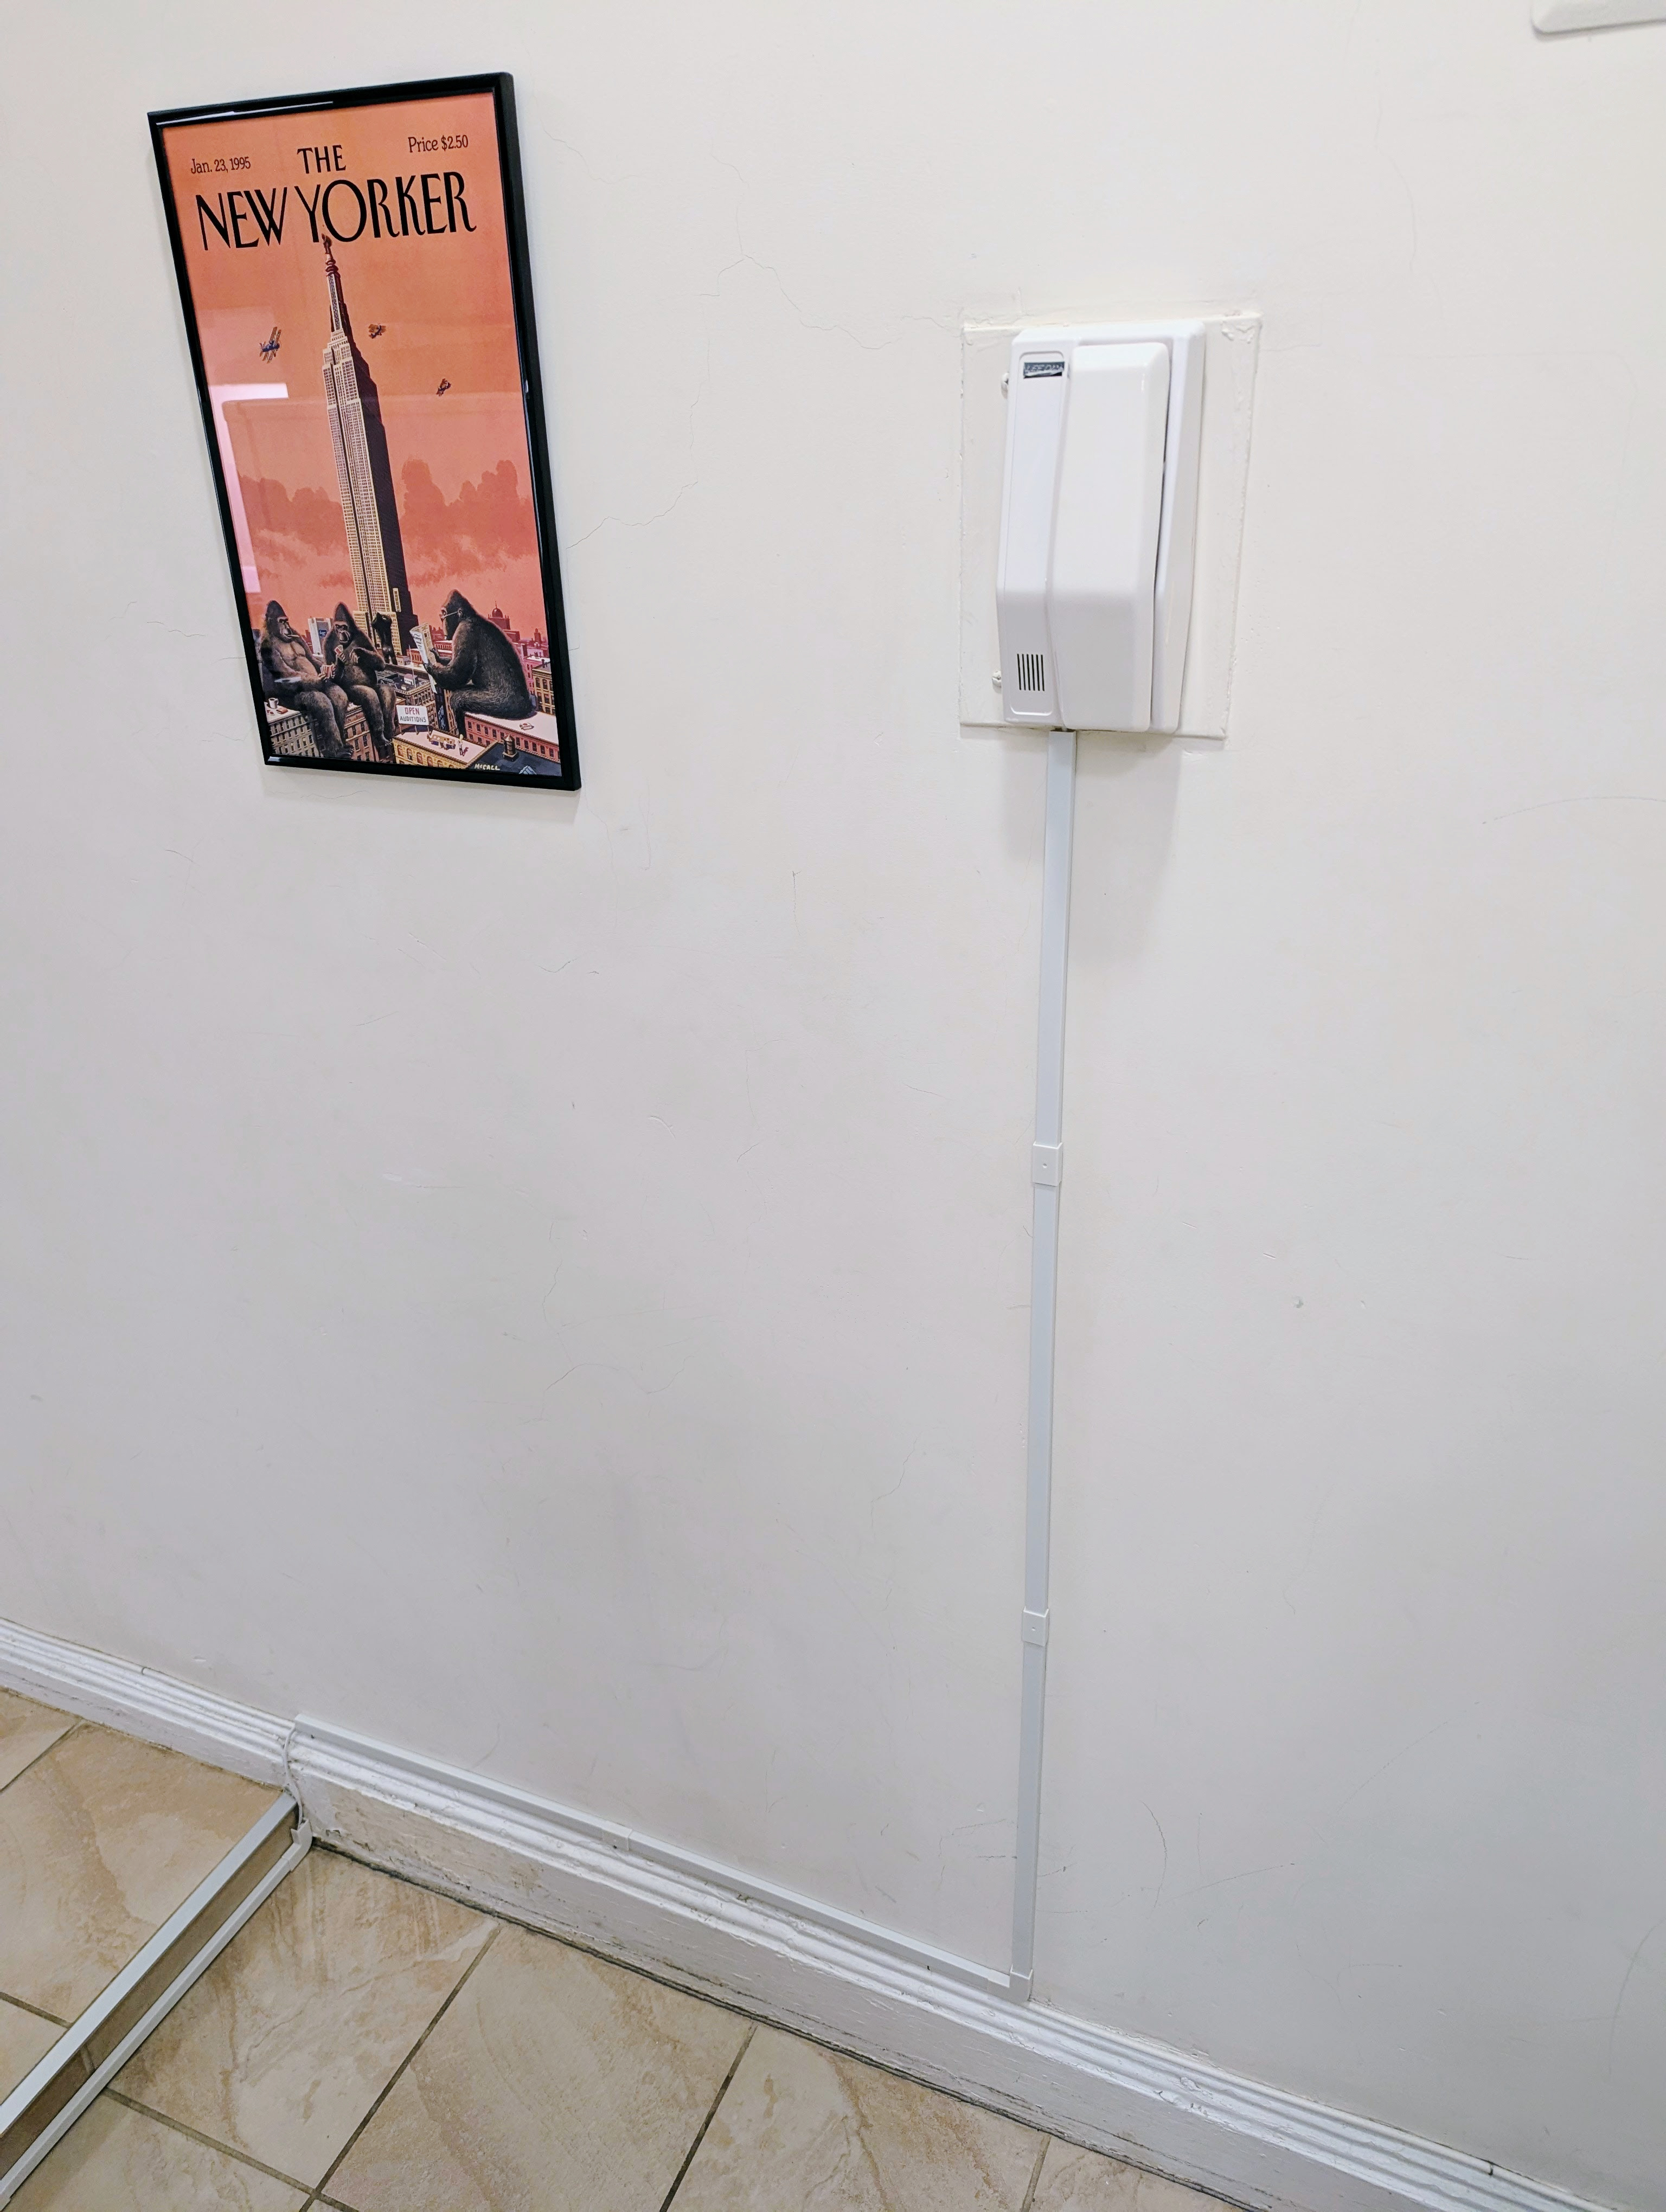
2026 update: The apartment owners replaced my “telephone-style” intercom with a more common box: 4-wire (1, 2, 3, X), 3-button (TALK, LISTEN, DOOR). This setup is described in detail here. I used this as an opportunity to revisit and simplify my circuitry:
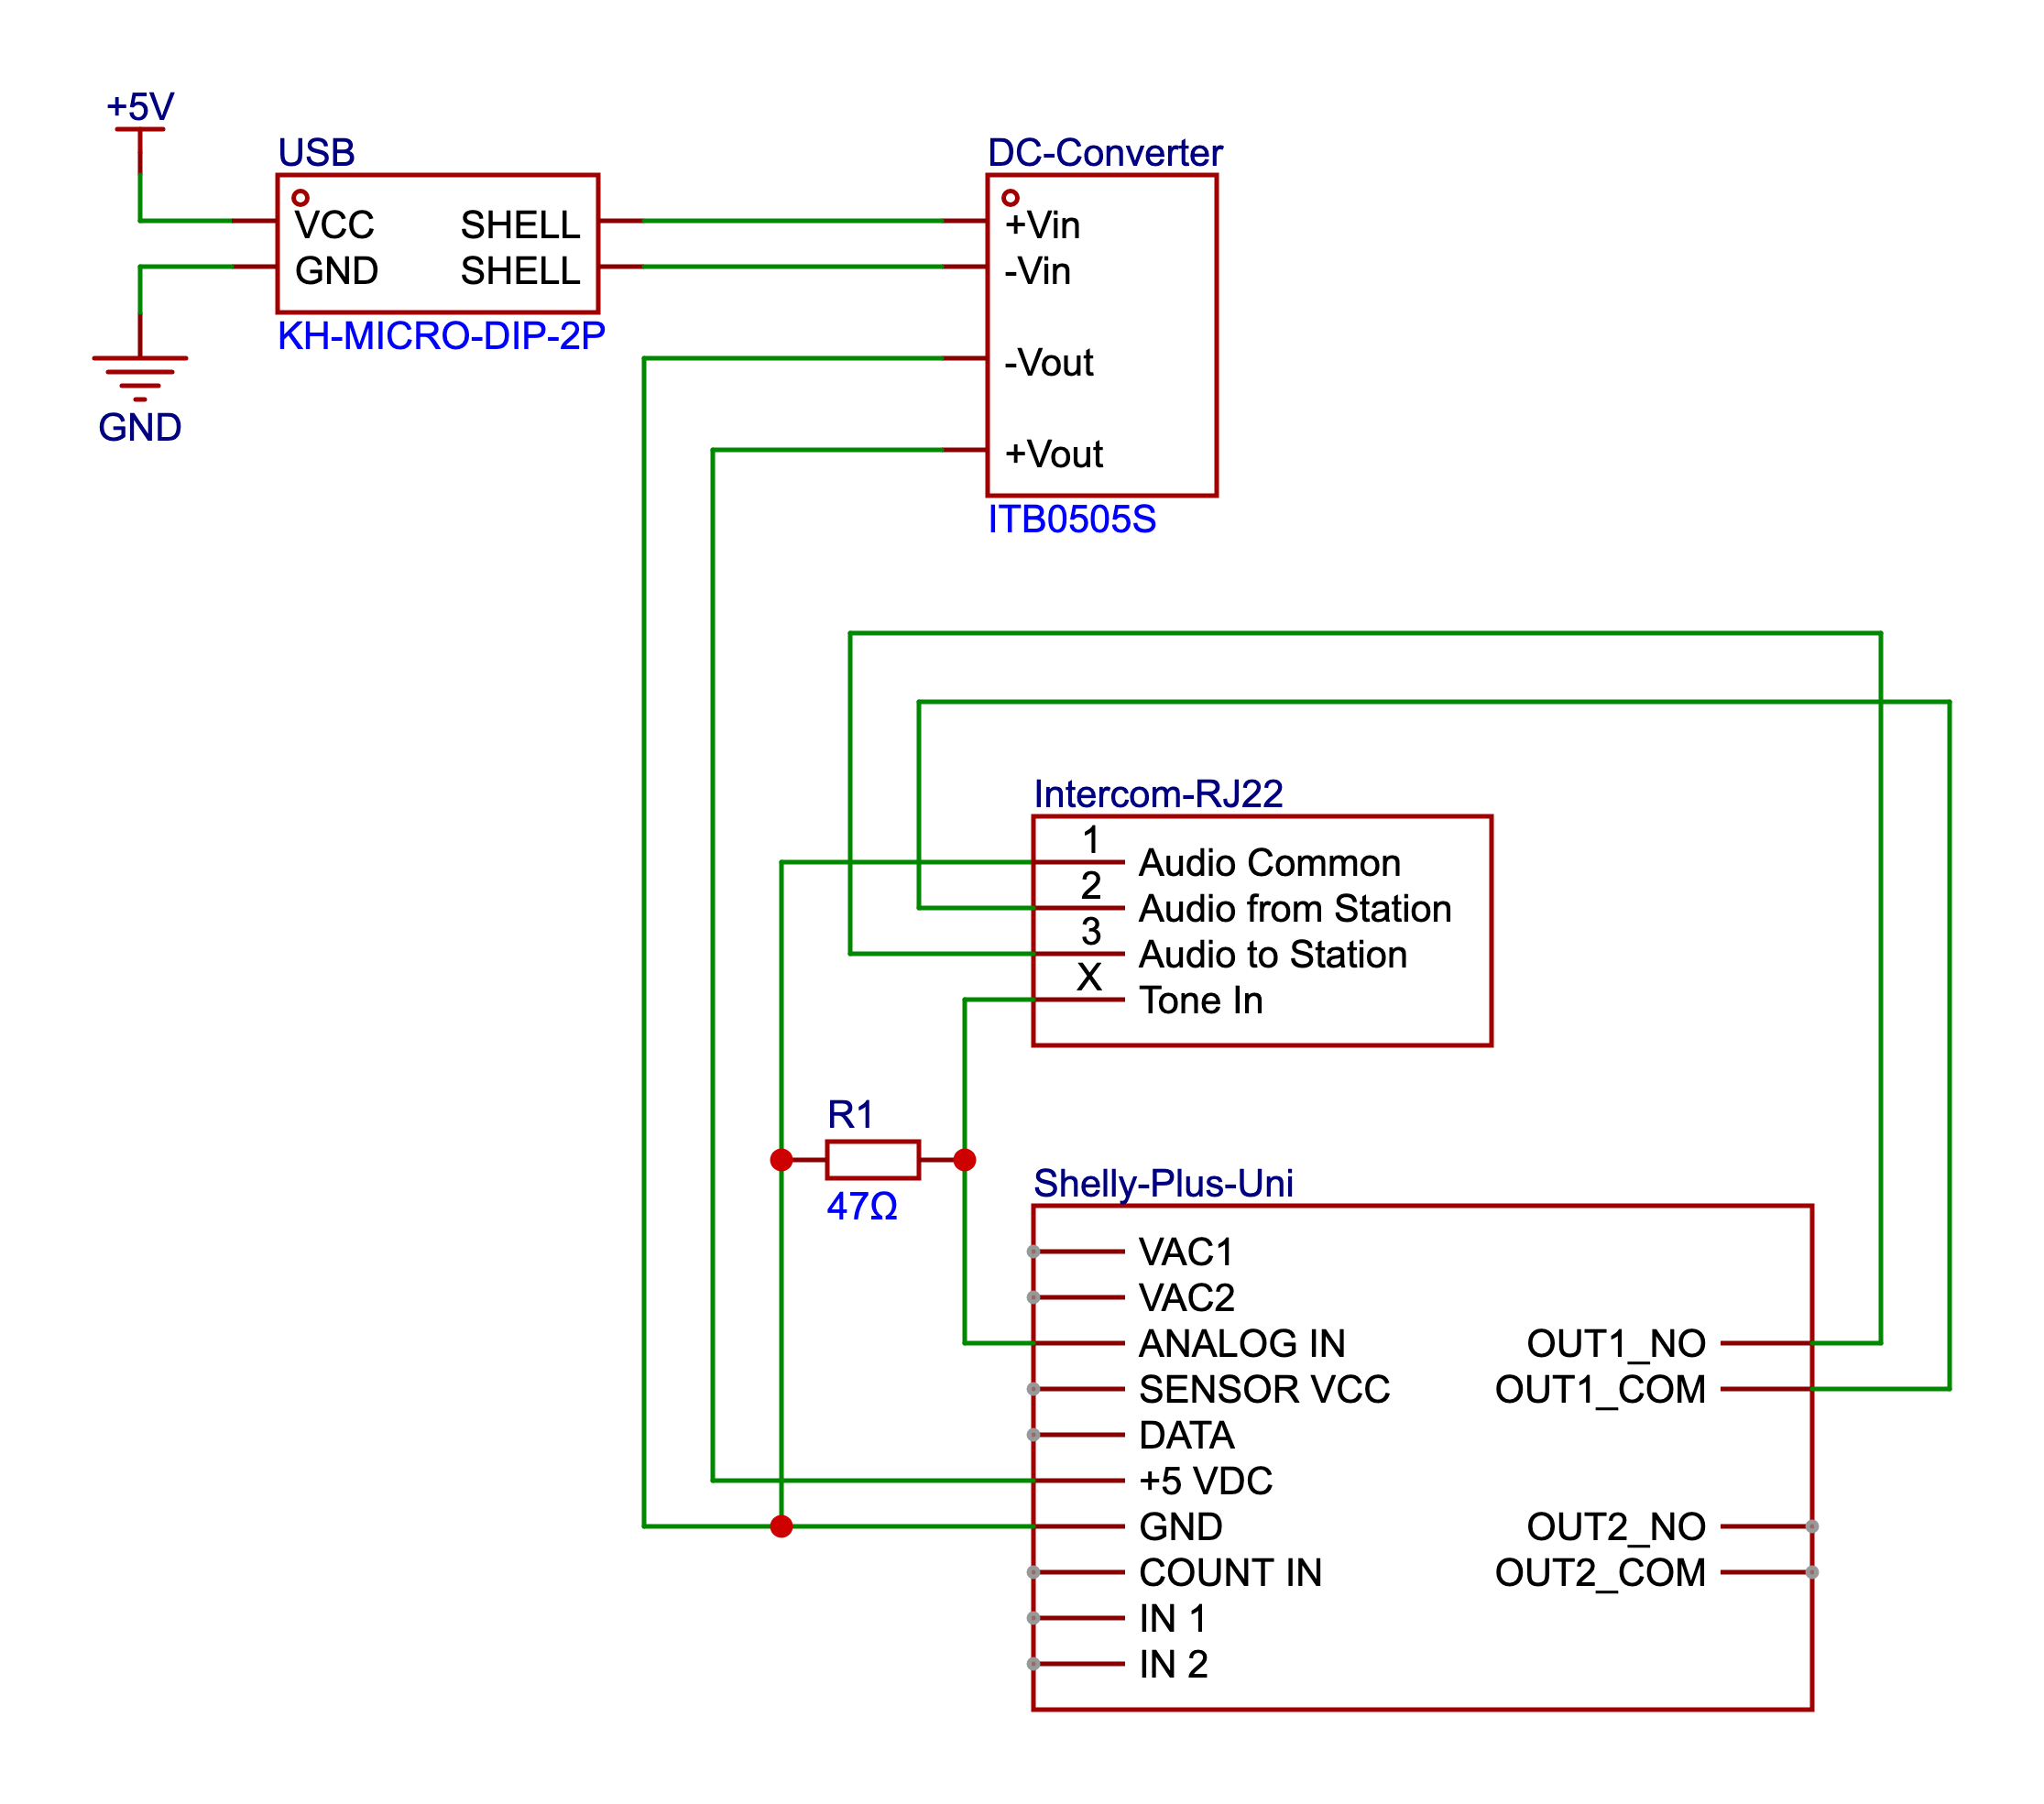
The updated version reduces the number of connections and now only requires one relay.
In this new setup, I replaced the speaker with a similar-ohm resistor. I personally care more about silencing the loud warbling tone when the call box is rung than I do being able to talk/listen on the intercom. You could, however, leave the speaker wired up and retain the buzz tone and talk/listen functionality while also detecting the tone electronically.
The only other hiccup with my new intercom is that the enclosure is made of metal rather than plastic, so the Wi-Fi signal has a tougher time getting through. To address this, I purchased a cheap 2.4 GHz range extender ($15 as of writing). With it plugged in even a few meters away, the Shelly board’s intermittent connection issue was resolved.